Your Learning Loaf dough has been sitting for 1 hour 30 minutes, rising, strengthening the gluten and developing flavour. Now we need to take a few minutes to shape the dough into nice loaves of bread. The good news is, this step is so quick your cup of tea won't even get cold!
Check Your Dough: Is It Ready? #
First off, make sure the dough has finished the bulk fermentation properly. Depending on the temperature of the dough and the temperature of your kitchen, it may need to sit a little longer.
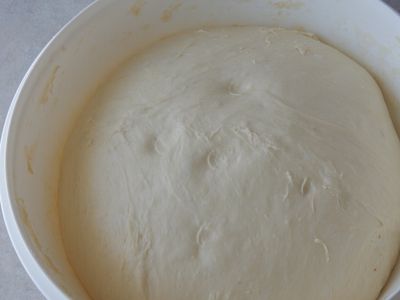
Not quite ready. The dough still seems firm to the touch. Try again in 10 minutes!
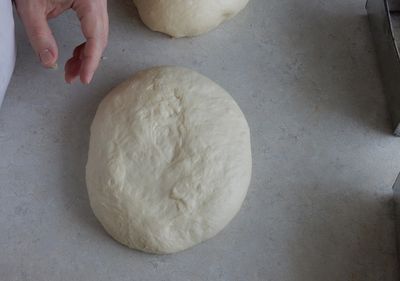
Gently poke the dough with your finger. If the dough depresses easily and leaves an indent, it's time to divide.
If not, let the dough sit for 10 more minutes and try again.
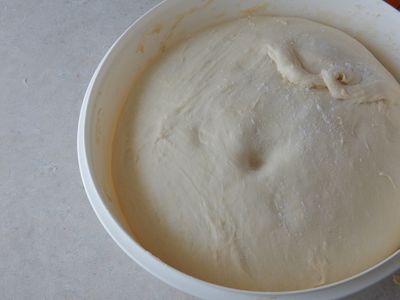
Ahh, that's better! The dough feels gassy under my finger.
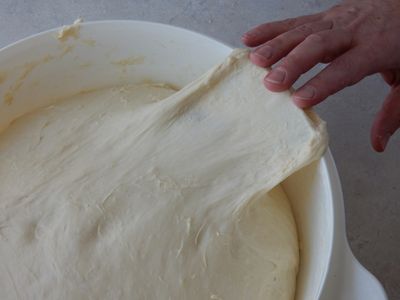
But hey! Remember that short gluten window right after we mixed? Look how much it's developed!
Gently pour the dough onto your counter. Using your dough scraper, cut the dough into two equal pieces.
The recipe we're using for the Learning Loaf is for two loaves. So it's not crucial to use a scale. But if you're making a bigger batch, or have trouble getting the pieces the same weight, use your scale and get each piece to weigh around 750g. If you need to adjust, stack any small pieces of dough on top of the bigger pieces.
To avoid sticking, push the scraper through the dough quickly using one hand and pull the pieces apart with your other hand.
Pre-shape Each Loaf Into A Ball #
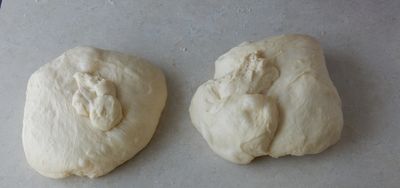
Now you have two pieces of dough, but if you're like me, they are pretty ugly. A few small pieces and one big hunk, as I get the loaf's weight just right.
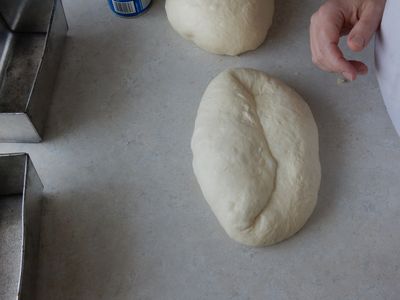
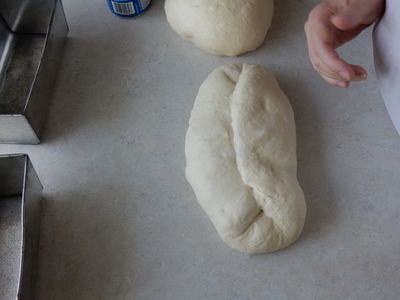
Take the corners of the big piece and pull them over any little bits. Turn the loaf over and roll it into a loose ball.
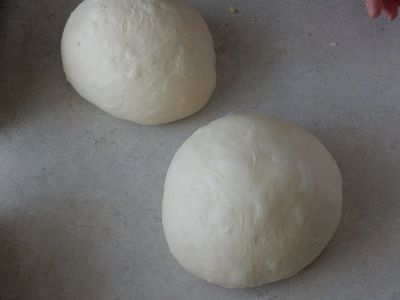
Two loose balls.
Repeat with the other loaf, then cover both loaves with a towel and let rest 20 minutes.
What we've just completed is the Pre-Shape. We've taken a ragged piece (or pieces) of dough and got it thinking it's going to be a loaf of bread someday. But now it needs to relax before we give the loaf it's final shape.

Dough is resting, pans are greased and ready.
Why do we Pre-Shape? #
The pre-shape is a step that many bakers omit, but I do it every time.
The effort required in dumping your bowl of dough and dividing it is hard on the dough. It's been hacked into pieces and the gluten is all out of alignment. The dough has also started to tighten up in places where you've handled it more roughly.
In a word, it's uneven. There are soft sections and firm sections, and we don't want that to show up in our final loaf.
Pre-shaping will get the loaf's strength consistent again. The rest that follows the Preshape will let the dough relax evenly, so it will be much easier to shape a pretty loaf.
Shape Your Loaves Into Rectangles #
While the pre-shaped loaves are resting, get your loaf pans out and spray the insides with pan spray. Be sure to get the sides of the pan sprayed well so the loaves won't stick to the pan.
Shaping Goals:
I'm going to take you through shaping step by step, but here's what we're trying to accomplish while we shape:
- Remove large air pockets. Pan breads have a tight, even crumb, without big holes. So we'll want to make sure we press out any large air pockets.
- Firm, even tension throughout the loaf. Every time we fold or seal a seam, we want to build consistent strength in the loaf. Avoid folding one side firm and one side loose.
- Create a smooth top. All our folding and sealing is on the bottom of the loaf, leaving a smooth top that will look beautiful when baked.
Ready? Ok! Working one dough ball at a time, we're going to shape each loaf into a rectangle. Here's how:
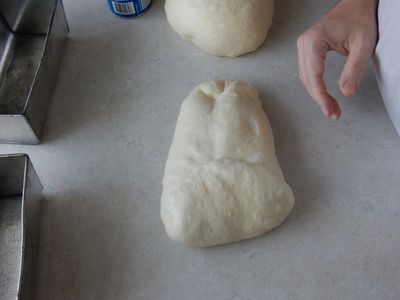
Because there's butter in the dough, your dough is slightly "non-stick" already. So you shouldn't need to put flour on the counter. But if your hands are hot and sticky, flour them up slightly. Turn the dough ball over and pat into a circle.
Flatten the dough ball into a circle
Fold the top third into the middle (like you're folding a letter) and pat it down.
Top down, like a letter
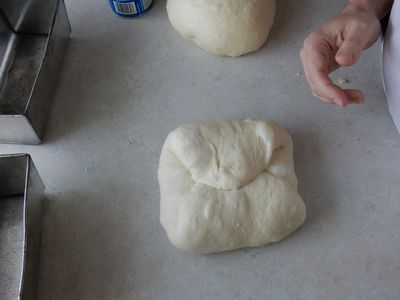
Fold the bottom third into the middle and pat it down
Bottom up.
Pick up the loaf and stretch the ends gently. Fold the left side into the middle, slightly overlapping the half way point.
Left side, should be just past middle (I may have messed up!)
Fold the right side into the middle, slightly overlapping the previous fold.
Right side into middle, slightly overlapping my first fold.
Using the outside of your hand, press a furrow horizontally across the middle of the dough.
Moving from right to left, fold the dough over the furrow with your left hand, and press the two ends together with the heel of your right hand. Keep folding and sealing the seam along the length of the loaf.
Seam is sealed. Use the counter as resistance to and press firmly with your hand.
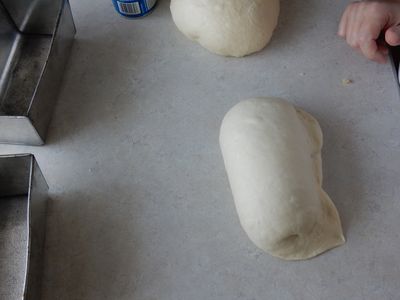
Using the heel of your hand, seal the seams on the sides of the rectangle.
Roll the loaf over and, if needed, roll it out slightly to match the length of your pan.
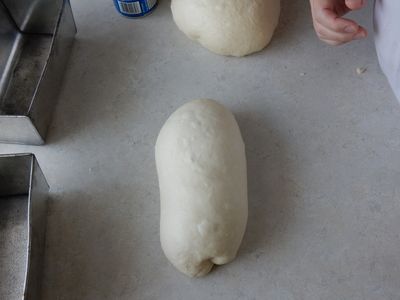
Final loaf, with the seam down
Place the loaf in the pan, seam side down.
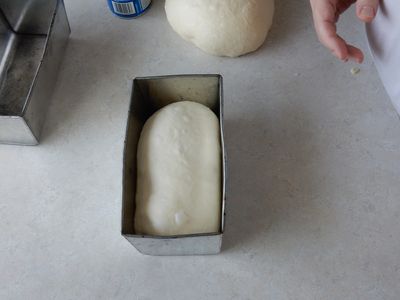
In the pan. You did it!
Repeat for the second loaf. Cover both pans with a towel and let rest in a warm place.
Practice, Practice, Practice! #
So how did that go? Shaping loaves can be a frustrating step, but don't get discouraged.
I picked a pan bread as the Learning Loaf because pan breads are very forgiving. If you have trouble building good tension in the loaf, the sides of the pan will support the loaf.
Also, pan breads have a tight crumb by design, so you don't have to be super gentle during shaping.
Of all the steps in baking bread, I love shaping best. I love how, over years of baking every day, my hands have become extremely sensitive to the changes in the dough.
You can train your hands too, guaranteed. Keep baking and keep practicing!