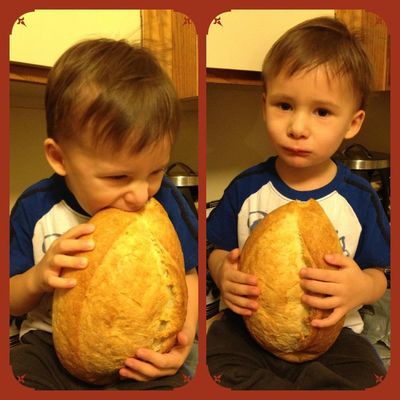
A little Bootnik enjoying his unsliced French Loaf
Our mechanical bread slicer is on the fritz these days. I replaced the piston that pushes the loaf through the blades and replaced the blades too. 32 steel blades specifically designed to slice crusty artisan bread like we bake at Orange Boot Bakery.
It's still not working the way I want, though. If I try to slice a loaf that hasn't completely cooled and set up (ideally 2-3 hours after baking) the bread tries to move through the blades too quickly and gets squashed.
While I fine tune the slicer it means we might have to say No when you ask for sliced bread, especially in the morning. So it's a good time to talk about the lost art of bread slicing.
When you buy a pre-sliced loaf, you give up a lot:
- Pre-sliced bread wrecks your crust. Once we put bread through the slicer, we have to put it in a plastic bag. That is going to soften the crispy crust we worked so hard to make. An unsliced loaf, in a paper bag, will preserve the crisp crust for the first few days you have the loaf.
- Pre-sliced bread stales faster. All those slices expose more of the crumb to the air, which means your loaf dries out faster. Placing an unsliced loaf cut side down on a cutting board, or placing the heel of the loaf over the cut end will reduce the amount of crumb exposed to the air.
- Pre-sliced bread must be completely cool. Putting warm bread through the slicer mangles the loaf. Lots of our customers love the way a warm loaf feels, smells and tastes.
- Mechanical slicers are fixed width. Sometimes I feel like a thick piece of texas toast. Other times it's a thin slice for crostini. But pre-sliced bread is only one thickness, and rarely the thickness I desire.
I used to be terrible at slicing bread, but I loved crusty artisan bread so much that I taught myself how to be a good slicer. Here are some tips that I've picked up over the years:
-
Use a good bread knife. It doesn't have to be expensive, but it should have a long, sturdy blade and a serrated edge. I have an Ikea bread knife at home and we use Chicago Cutlery knives from Walmart at the bakery. Both are under $20 and work very well, although if the Chicago Cutlery knife was two inches longer it would be perfect
-
Use a smooth sawing motion. Your knife is sharp so you don't have to work hard. Use long strokes and guide the knife through the loaf.
-
Keep your blade straight. This is easier if you aren't using a lot of pressure on the cutting stroke. Let the knife do the work and you can focus on keeping the blade perpendicular to your cutting board.
-
Tip the loaf to cut through the bottom crust. Usually this isn't necessary, but if you are having trouble cutting through the last bit of bottom crust, you can tip the loaf slightly and slice along the crust.
-
Use your toaster as a gauge. While you are learning, there is only one measure of success. If your slice fits in the toaster, you win. If not, shave a little off the thick end and try again next time.
Now I completely realize that people with arthritis need some assistance. And sometimes the chewy crust on our rye can be a challenge. But slicing your own bread is easy and can even be fun. So while our slicer gets a tune up, break out your bread knife and get some practice in!
Thanks to Courteney D and her little Bootnik for this amazing photo!